“Philippine Identification System” or “Philsys” is a centralized identification system of Filipino citizens and residents.
Hence having the National ID/ PhilID card required to every Filipino here and abroad-OFWs and Dual Citizens. It can be used as proof of identification for all transactions in the country, government agency or private and is said to reduce corruption, enhance governance, and improve public safety.
Naturally, everyone is clamoring to have that National ID. Philippine Statistics Authority’s site even had a crash on the onslaught of applicants upon opening registration.
We don’t want to stress you more and present you here a simple step by step guide on how to have that coveted ID or more like required ID.
How To Get the National ID?
National ID applicants must follow the “5 easy steps” to apply for PhilSys.
Step 1: Register Online
Register your demographic information in PSA’s online portal register.philsys.gov.ph for national ID registration. After you input all the information, submit application form and book your preferred appointment date at the branch nearest you.
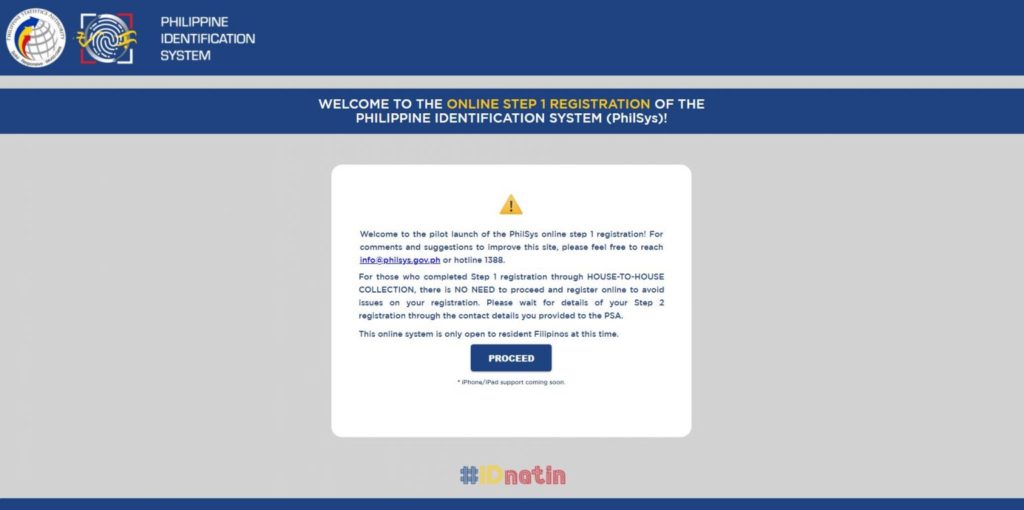
The information needed are:
- Full name
- Gender/Sex
- Date and place of birth
- Blood type
- Address
- Optional information like marital status, mobile number, and email address will also be collected.
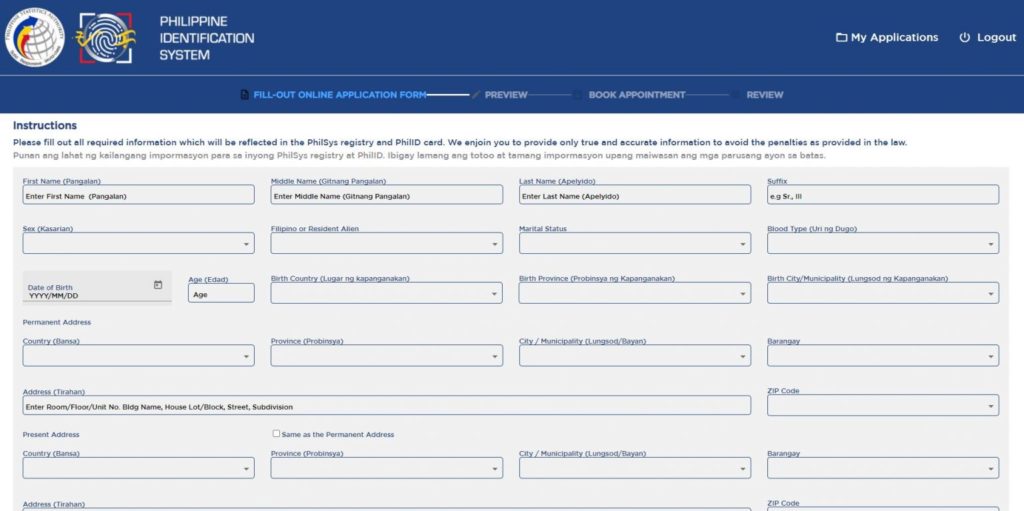
Make sure to screenshot your Application Reference Number (ARN) and/or your QR code which will be presented at the registration center.
Step 2: Gather all the required documents.
These will be the supporting documents you’ll be presenting on the appointment date so make sure to have all of these ready and placed in your personal envelope/folder. Also, make sure to bring the original copy of your documents.

Required documents are:
- Birth Certificate issued by PSA (formerly NSO)
- One government-issued ID which contains the applicant’s full name, photo, and signature or thumb mark; or Valid Philippine passport
- Unified Multi-purpose Identification (UMID) card issued by SSS or GSIS; or Other equivalent documents approved by the PSA.
Step 3: Visit Registration Center
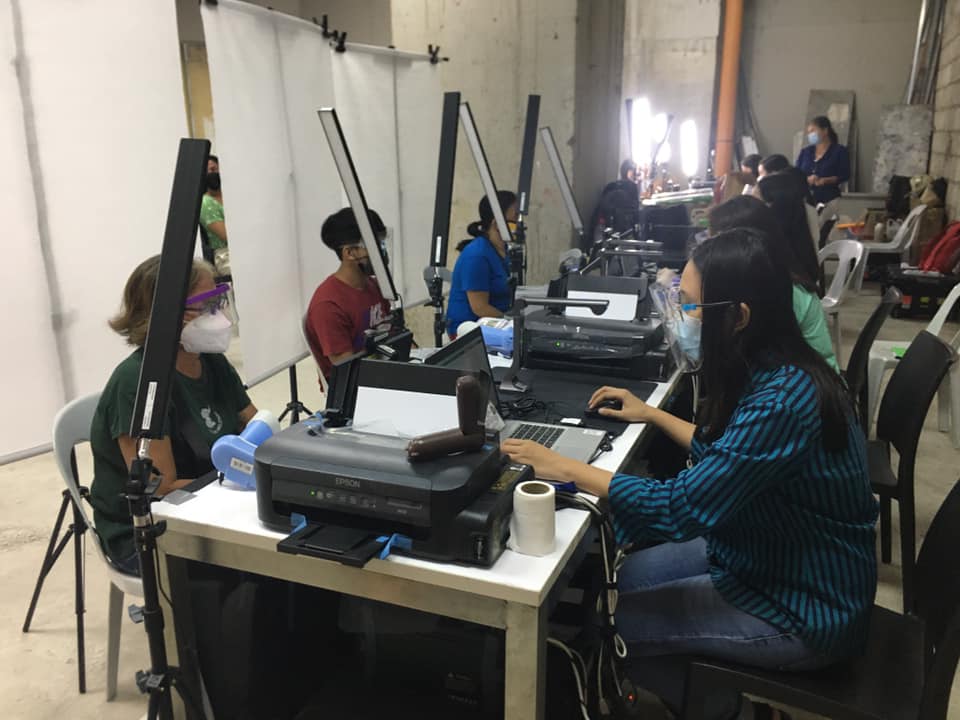
Visit your Registration Center on the appointment date. Present your Application Reference Number (ARN) and/or your QR code and submit all your documents. The supporting documents will be used to validate your demographic information on-site. After the validation, have your Biometric information captured.

Biometric information includes:
- Fingerprint
- Iris scan
- Front-facing photograph
Applicants below five years of age are not required to have their biometrics taken, only a front-facing photo.
Step 4: Wait for National ID to be delivered
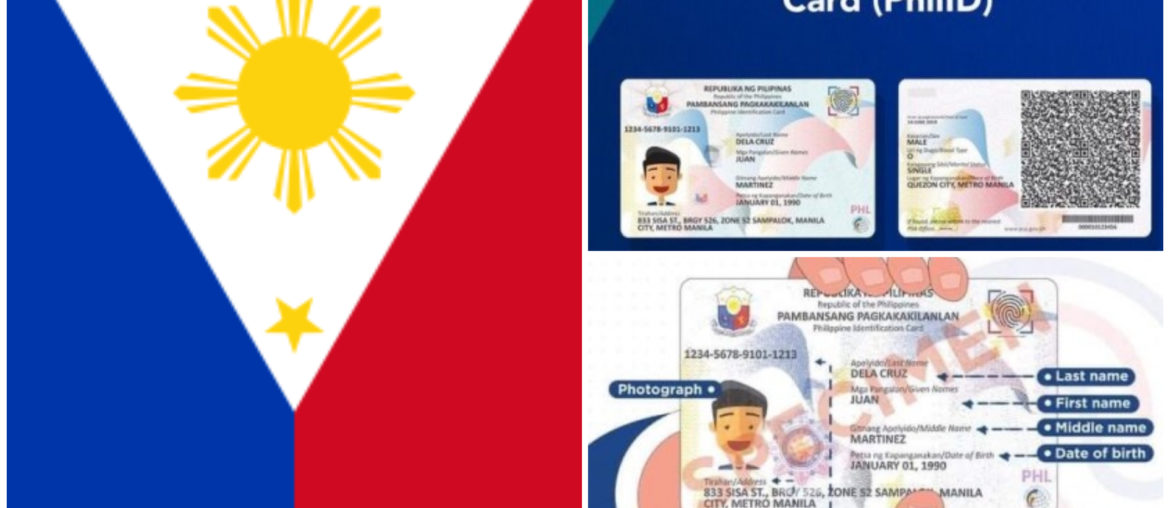
Your PhilSys Number (PSN) and PhilID will be delivered to your address by PHLPost. Present your transaction slip or any valid ID to the courier. Also, your PhilID is not for social media so don’t post in anywhere as it contains personal information.

Note: In case of duplicates, PSN will not be generated yet by the system and further verification will be conducted by the PSA.


Comments are closed.